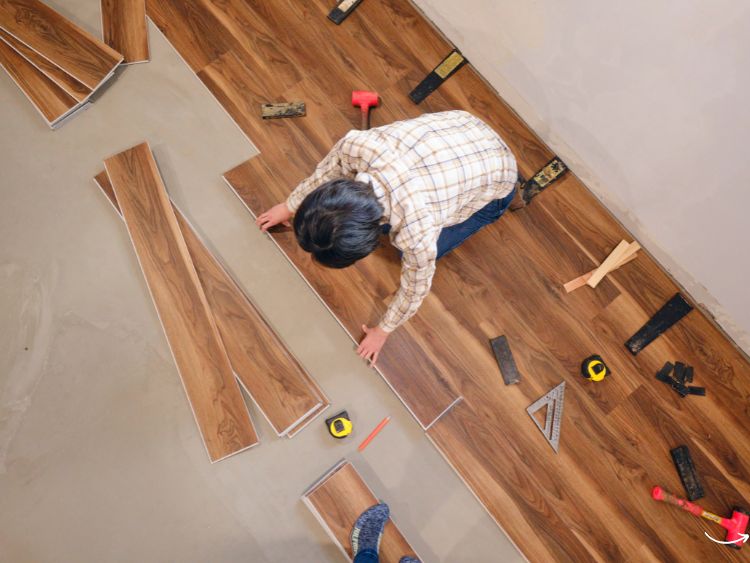
Is your timber floor looking worse for wear? Don’t worry! With a timber floor repair kit, you can breathe new life into your beloved flooring. This guide will walk you through everything you need to know about timber floor repair kits, from their benefits to how to use them effectively. Whether you’re a DIY enthusiast or someone who’s just starting, this article is packed with tips and tricks to help you restore your floor to its former glory. So, let’s dive in!
What is a Timber Floor Repair Kit?
A timber floor repair kit is a comprehensive set of tools and materials designed to help you fix scratches, dents, and other damages on your wooden floors. These kits typically include:
- Wood fillers: For filling in gaps and scratches.
- Sanding tools: To smooth out the repaired areas.
- Stains and finishes: To match the repaired spot with the rest of the floor.
- Applicators and brushes: For applying fillers and stains accurately.
By having all these items in one kit, you save time and effort searching for individual components.
Why Use a Timber Floor Repair Kit?
Cost-Effective
Instead of replacing the entire floor, which can be quite expensive, a repair kit allows you to fix only the damaged areas. This is a budget-friendly solution that doesn’t compromise on aesthetics.
Easy to Use
These kits are designed with ease of use in mind. Even if you’re not particularly handy, the clear instructions and user-friendly tools make the repair process straightforward and manageable.
Versatile
Timber floor repair kits can be used on various types of wooden floors, including oak, pine, and maple. This versatility makes them a valuable tool for any homeowner.
How to Use a Timber Floor Repair Kit
Step 1: Identify the Damage
First things first, you need to assess the extent of the damage. Is it just a scratch or a deeper dent? Understanding the problem will help you choose the right approach and materials from your kit.
Step 2: Clean the Area
Before you start repairing, clean the damaged area thoroughly. Remove any dirt, dust, or debris to ensure that the filler adheres properly.
Step 3: Apply the Wood Filler
Using the applicator provided in your kit, apply the wood filler to the damaged area. Make sure to fill in all gaps and scratches evenly. Let it dry completely before moving on to the next step.
Step 4: Sand the Repaired Area
Once the filler is dry, use the sanding tool to smooth out the repaired area. Sand gently until the surface is level with the rest of the floor.
Step 5: Apply Stain and Finish
Finally, apply the stain to match the color of your existing floor. Use the brushes included in the kit for precise application. Once the stain is dry, apply the finish to protect the repaired area and give it a polished look.
Tips for Maintaining Your Timber Floors
Maintaining your timber floors can extend their lifespan and keep them looking new. Here are some tips:
- Regular Cleaning: Sweep or vacuum your floors regularly to prevent dirt buildup.
- Avoid Water: Water can damage wooden floors. Clean spills immediately and use a damp mop rather than a wet one.
- Use Rugs and Mats: Place rugs in high-traffic areas to reduce wear and tear.
- Furniture Pads: Use pads under furniture legs to prevent scratches.
Frequently Asked Questions
What type of wood filler should I use?
The type of wood filler depends on the extent of the damage. For small scratches, a wax filler might be sufficient. For deeper dents, a putty filler is more suitable.
How long does the repair process take?
The repair process can take a few hours to a day, depending on the drying times of the filler and stain. It’s best to follow the instructions provided in your timber floor repair kit.
Can I use a timber floor repair kit on engineered wood?
Yes, timber floor repair kits can be used on both solid and engineered wood floors. Just make sure to follow the specific instructions for the type of wood you’re repairing.
Do I need any additional tools?
Most timber floor repair kits come with everything you need. However, having some extra sandpaper and a soft cloth can be handy.
How often should I repair my timber floors?
This depends on the amount of wear and tear your floors experience. Regular maintenance can reduce the frequency of repairs. Generally, inspecting and repairing your floors once a year should suffice.
Summary
A timber floor repair kit is an invaluable tool for anyone looking to maintain and restore their wooden floors. These kits are cost-effective, easy to use, and versatile, making them suitable for various types of wood. By following the steps outlined in this guide, you can efficiently repair scratches and dents, extending the life of your timber floors. Remember, regular maintenance and proper care are key to keeping your floors in top condition. So, next time you notice a scratch or dent, don’t fret! Grab your timber floor repair kit and get to work.
Authoritative Links
For more information on timber floor repair and maintenance, check out these resources:
- https://www.homedepot.com/b/Flooring-Wood-Floor-Repair-Kits
- https://www.lowes.com/pl/Wood-floor-repair-kits-Flooring-tools-accessories
- https://www.thisoldhouse.com/flooring/21017935/how-to-repair-a-wood-floor
- https://www.familyhandyman.com/project/how-to-repair-wood-floor-scratches
- https://www.woodfloors.org/wood-floor-repair.aspx


